Scientia potentia est – Knowledge is power.
Wards in DOTA 2 and thus having good vision around the map is crucial in order to win. Knowing what the enemy is up to means you will never again be surprised by their actions. As a support player I always try to keep track of where my team requires wards, and where the enemy are likely to have placed their own. This article will be part 1 of 2 articles focused on dota 2 warding and vision, aimed at beginners. This guide will show where to generally place wards, while the 2nd will be about why wards are placed and how they affect the flow of the game. Having good vision is as much about placing wards as it is about not placing them in the wrong spots.
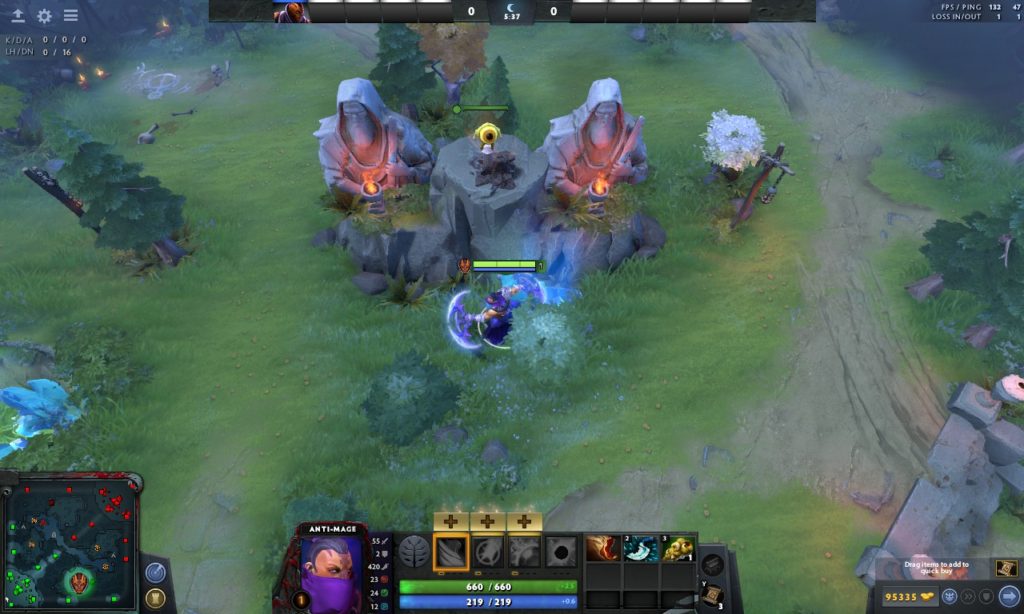
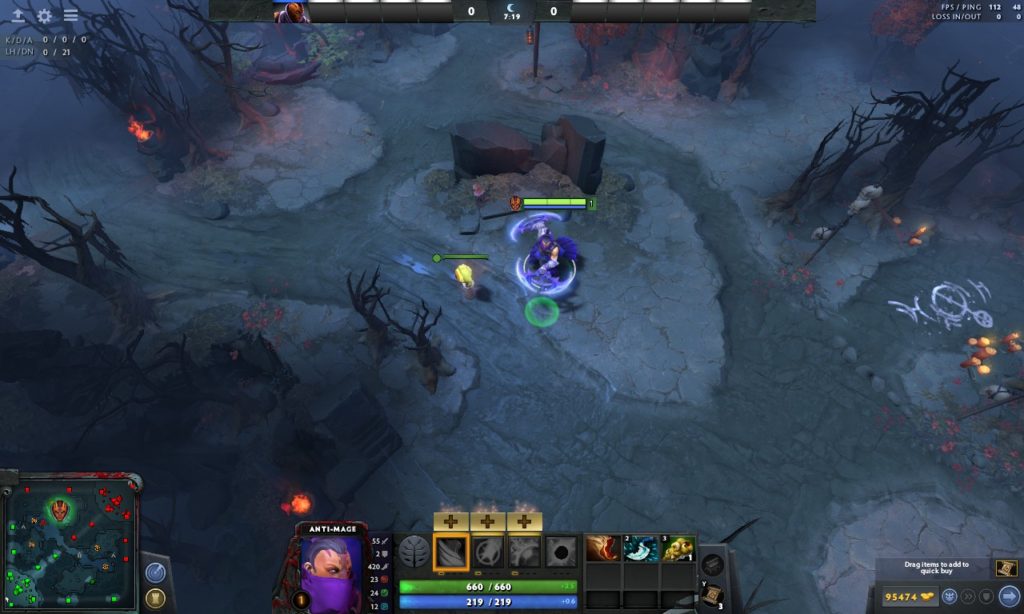
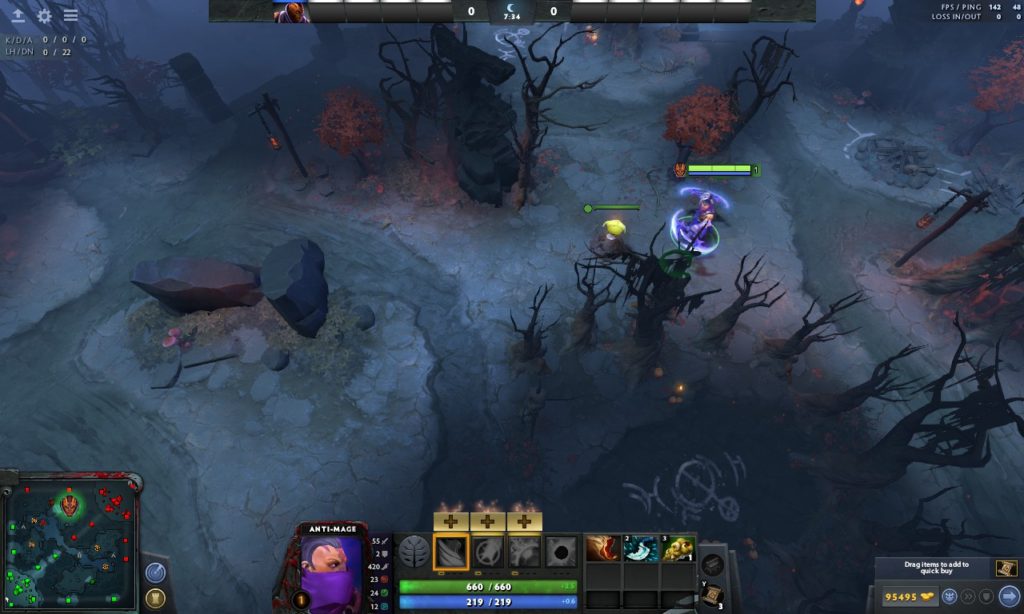
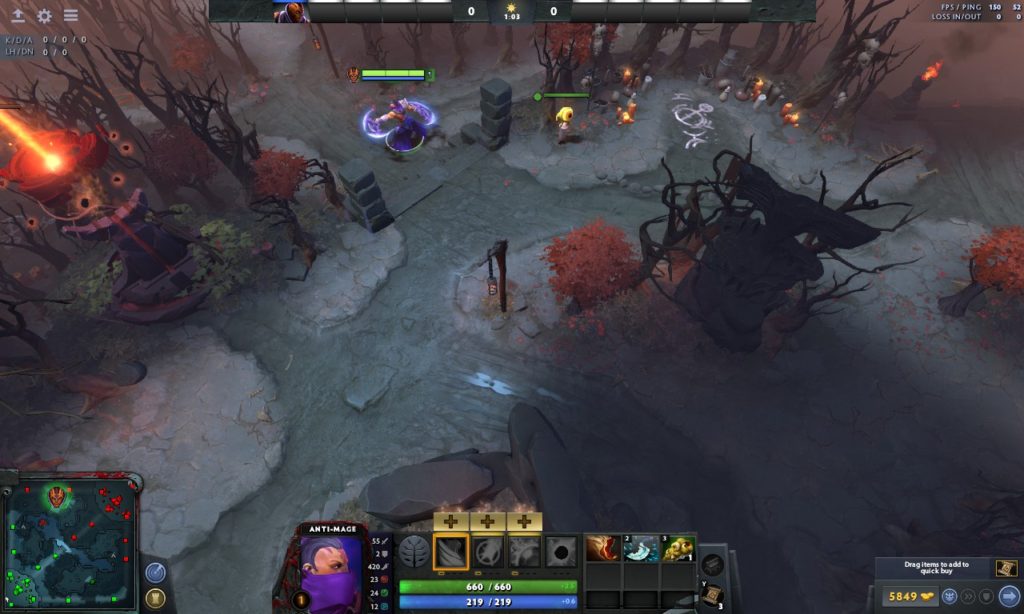
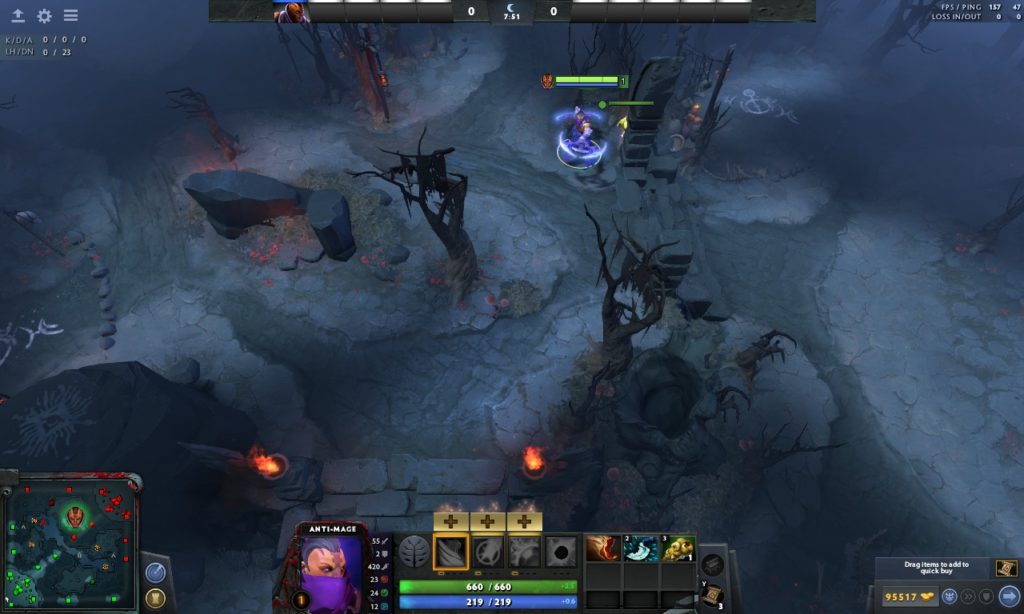
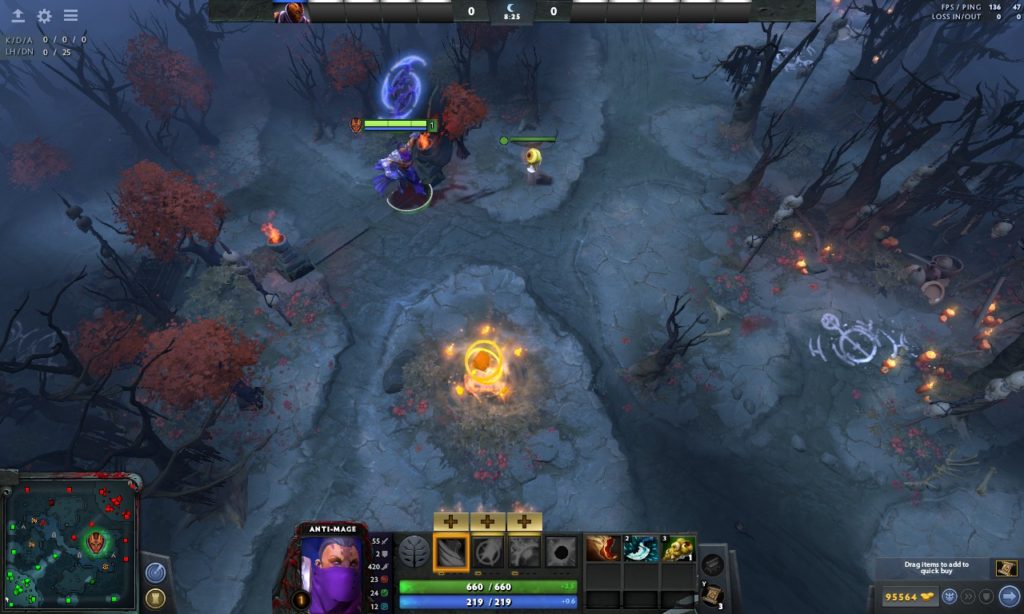
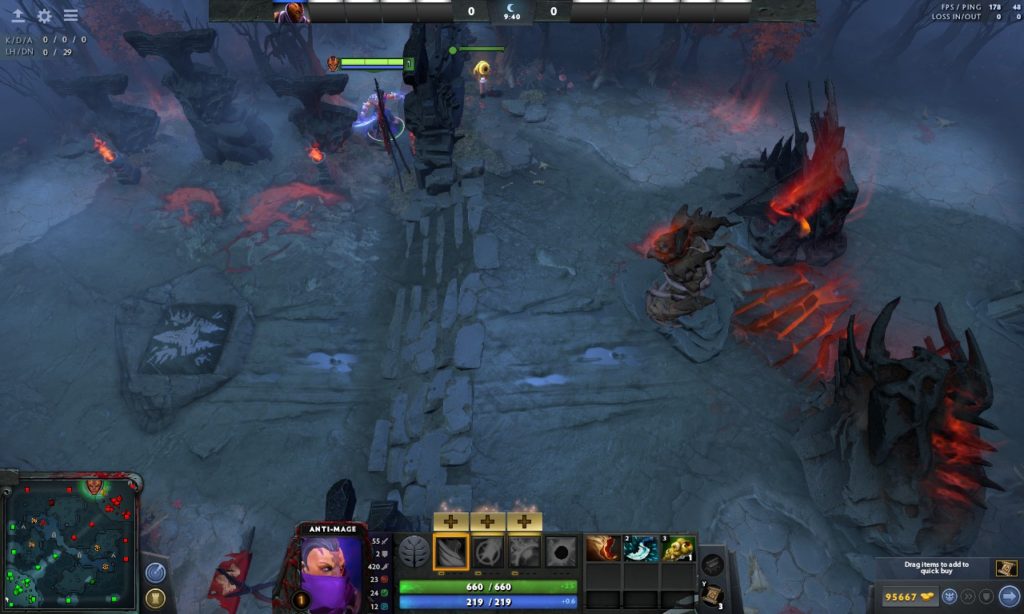
Start of the game.
Observer wards ![]() are completely free, but come with a restock time of 135 s. They will offer vision in a 1400 radius which is blocked by terrain and trees. Thus, cutting trees can be a nifty way of improving their value. At the starts it’s only possible to buy 2 Observer wards
are completely free, but come with a restock time of 135 s. They will offer vision in a 1400 radius which is blocked by terrain and trees. Thus, cutting trees can be a nifty way of improving their value. At the starts it’s only possible to buy 2 Observer wards ![]() but more are soon to come. Typically 1 ward should be taken by the mid player, to guard him from possible enemy gank. The other by either the offlane or safelane, depending which needs it more. Make sure not to place Observer wards
but more are soon to come. Typically 1 ward should be taken by the mid player, to guard him from possible enemy gank. The other by either the offlane or safelane, depending which needs it more. Make sure not to place Observer wards ![]() while in enemy vision, as they give a pretty hefty bounty (100g +4g per minute/50exp +6 per minute) when destroyed.
while in enemy vision, as they give a pretty hefty bounty (100g +4g per minute/50exp +6 per minute) when destroyed.
While Observer wards are completely free to purchase, they will mostly be bought by supports. They have free item slots to carry them around and place without issue. Core players will want to focus on carrying other stat items, consumables etc.
Mid players should regardless of this still buy their own ward at ~4min as their starting ward will soon time out, if it didn’t get destroyed before.
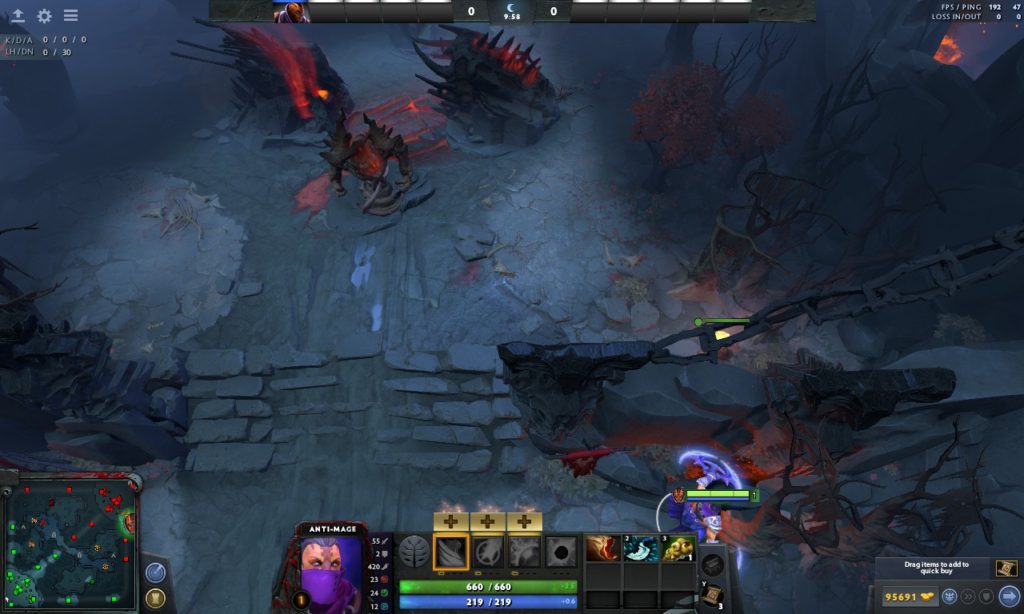
Mid wards.
Most common mid wards for Radiant. Showing both most common gank routes, while also giving vision of the enemy high ground.
Most common mid wards for Dire. Showing both most common gank routes, while also giving vision of the enemy high ground.
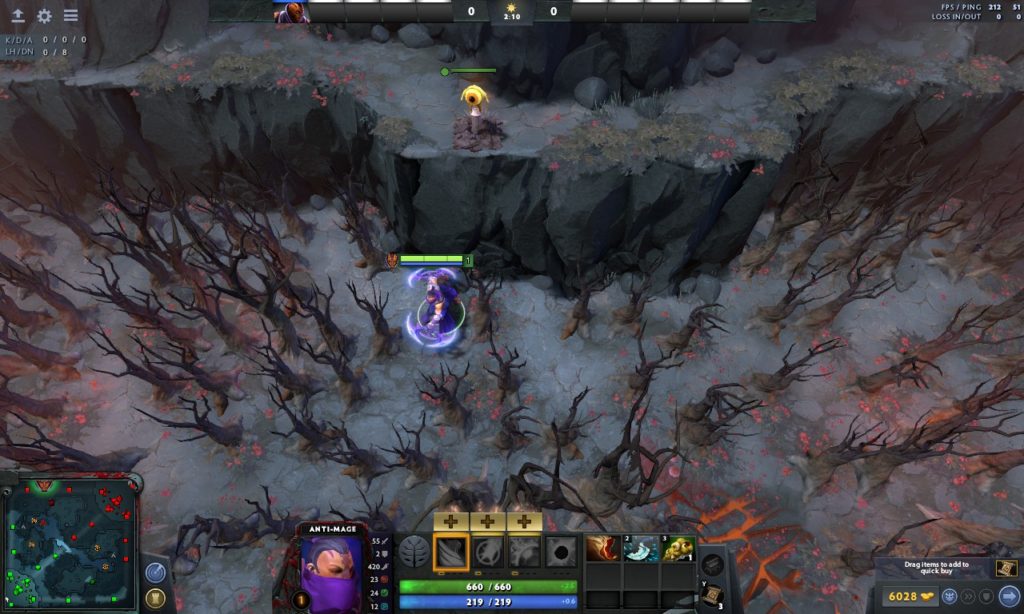
Mid cliff wards
Wards in dota 2 can also be placed on Valve designated warding spots. Defensive ward on Radiant when expecting enemy rotations from the bot lane/radiant jungle. Also works as an aggressive ward from Dire when playing against Alchemist and other mid heroes that depend on farming that camp.
Defensive ward on Dire when expecting rotations from bot lane. Also works as an aggressive ward for Radiant when playing against mid heroes that often farm dire triangle (Alchemist, Kunkka, Templar Assassin,Sniper).
Defensive ward on Dire when expecting rotations from Top lane/dire jungle. Also great for Radiant when playing against heroes that farm jungle (Alchemist, Shadow Fiend,etc). When wanting to snipe dire mid courier. Wards in dota 2 open up the possibility of different play-stiles. This ward is great for Radiant when cutting the mid wave.
Good for dire when cutting mid waves or sniping couriers.
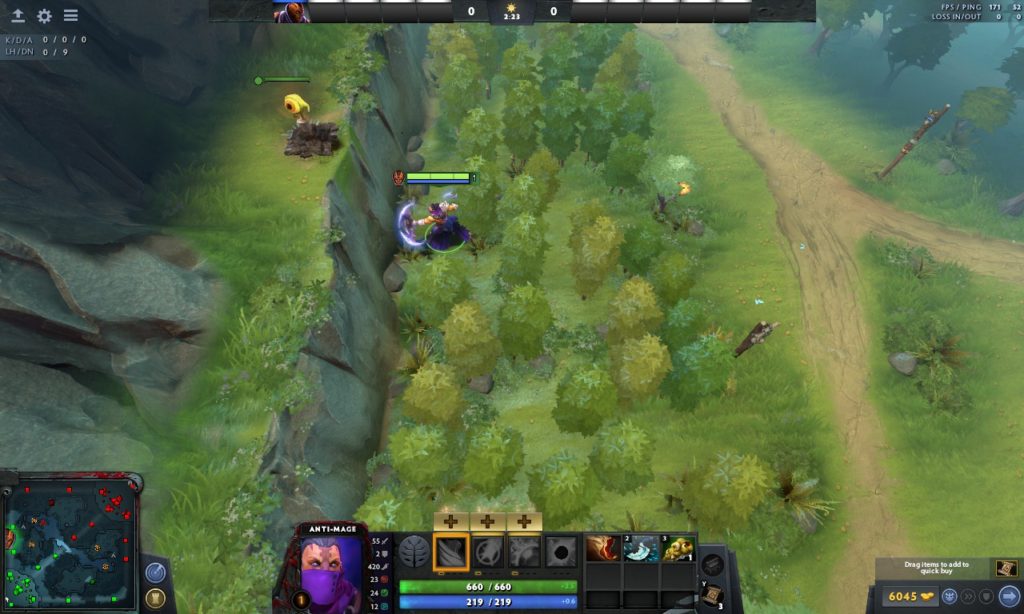
Offlane wards
The offlane should generally start with 1 ward to either stop enemy pulls or gather information about incoming ganks. Your offlane is usually the most dangerous place at the start of every match. Everyone wants to give their carry a good start and will be trying to zone the offlaner out of lane to do so.
Radiant offlane wards.
Good ward for radiant offlane. This ward shows pulls happening, support rotations and courier movement when lane is pushed into Radiant T1 tower. It will as well give vision of the contested bounty rune. Cutting trees increases the ward’s value, although too many cut trees can make it obvious. Also hard to deward with typical sentry placement from Dire.

Not the worst, not the best. Reveals the tower for incoming teleports. Rarely gets dewarded so it’s going to last a long time. Really useful when playing Clockwerk with Rocket flare ![]() , as you can reliably cancel Healing Salves
, as you can reliably cancel Healing Salves ![]() and Clarities
and Clarities ![]() . Commonly used by 7k player 2b.
. Commonly used by 7k player 2b.

Ward behind Dire T1 tower. Good for fast pos4 on Radiant (Mirana, Windrunner, Pangolier) or Supports that start with boots (Earth spirit, Rubick, Earth Shaker) to snipe couriers. Shows pull camp as well. Good players will deward it after the 1st courier snipe. Therefore try to stay near to deny the ward, and waste the enemy’s sentry ward. Good for pushing T1 tower as well.
Defensive Radiant ward. Good for first night against aggressive gankers (Earth spirit, etc.) Okay ward for pushing when on Dire, although a ward around the southern bounty may be better. Reveals Radiant couriers in secret shop.

Dire offlane wards.
Giving vision over the contested bounty rune as well as pull camp. Can be placed at start but is commonly dewarded.
Behind T1, good for courier snipe while also revealing pull camp.

Can be placed by dire to protect from rotations from mid or stop enemy from invading triangle area. Early aggressive ward for Radiant therefore investing in a sentry is recommended.When playing on Radiant placing this will spot supports teleporting in. Also amazing ward when playing Disruptor for Glimpse-back-to-fountain.

Taking objectives.
When taking objectives it’s important to provide vision to your team. This is where wards in dota 2 come into focus. You are likely to get jumped by the enemy and lose fights when you don’t see them. Objectives wary from towers, outposts, bounty runes, resetting creep equilibrium and so forth.
Pushing a tower.
When the objective is taking a tower, a ward behind it is generally a good bet. When it comes to taking map control it’s about covering common paths and points of interest (rune, outpost, roshan).
Ward behind Dire T1 tower. Good for sniping couriers as well as diving T1.
Ward on cliff is good for pushing Tier 2, as well as holding control over Dire jungle as Radiant. Easy to deward.
Alternative to the hill ward. Good for pushing T2 tower. Offers less value for controlling the jungle, but is less likely to get dewarded while still offering vision.
Ward for pushing Radiant mid T2. Can be placed from cover of trees.
Same on Radiant side, pushing T2 and holding jungle.
Alternative ward that will get dewarded less often.
Ward behind Radiant top T2. Consider using this ward as it is not in range of sentry wards on cliff.
Good for pushing Dire mid T2 tower. Rarely dewarded unless seen placing it as the area without true sight (towers) is rather small. Supports will only place sentries there if your line-up has invisible heroes such as Nyx Assassin, Riki or Clinkz.
Good for pushing Dire T2 bottom as well as holding control over dire Triangle area. Shows courier path to secret shop.
Holding map control.
Gaining and holding map control is one of the most important concepts of dota. Wards in dota 2 will allow you to hold control of areas. These wards are supposed to give intel about enemy movements, which part of the map is currently safe to farm, incoming smoke ganks and similar. These places will often be warded by both teams. Therefore, you should always use sentries to make sure the enemy doesn’t have vision.
Radiant jungle.
South Radiant jungle cliff. Good for courier snipes early game. Also offers vision of rotations from mid towards bot lane.
Small cliff Radiant jungle ward. Requires a observer to deward.
Aggressive Radiant jungle ward. Doesn’t get spotted by cliff sentries and shows common courier pathways as well as farming routes.
Small cliff ward, offers less vision but requires either an observer and a sentry to deward, or some AOE vision spell such as Crystal Maiden’s Crystal Nova ![]() . Trees can be chopped down for extra vision.
. Trees can be chopped down for extra vision.
Dire Jungle wards.
Ward for holding dire jungle entrance. Scouts Outpost and common farming spot for easy ganks. Easy to deward. Good for Radiant when taking Roshan.
Same area, but harder to deward. Offering vision on the northern medium camp.
Decent dire jungle ward which is also hard to deward as most will only check the southern area.
Alternative ward for cliff ward if enemy only place sentries on cliff. Shows many rotations and is a common smoke spot.
This ward will show dire triangle without being spotted by 2 most common sentries (cliffs).
Rarely dewarded Roshan ward.
Pushing the enemy base.
Important to ward whenever pushing enemy base. Ward that reveals Dire mid and bot T3. If the enemy tries to deward it, you can use Force staff to push them out of their base for an easy kill.
Same but offering vision of mid and top. Vision can be greatly enhanced by cutting nearby trees.
Sneaky ward for pushing Dire top T3. Rarely ever gets dewarded as it’s uncommon to be placed but shows crucial vision of back-line supports and initiators.
Same at bot T3 for dire.
Tinker wards.
There are 4 ward spots that offer vision over trees in which Tinker players often hide. Tinker is often countered by heroes with either great reach(storm spirit) or heroes that offer vision enabling others to catch him. These wards can also be used to lay siege to towers against strong initiators such as Earth Shaker, Sand King, Enigma. They are likely to hide in the trees. These wards also reveal Treant Protector and Monkey King making it a worthwile purchase against their split push.

Nature’s prophet sniping courier’s.
Sometimes Nature’s prophet players will place either one of these wards to snipe couriers. As there are now 5 couriers they can get a lot of value from doing this. Nature’s prophet is extremely strong in the current meta, which you can find out more by reading our impression of the strongest heroes in the current meta.